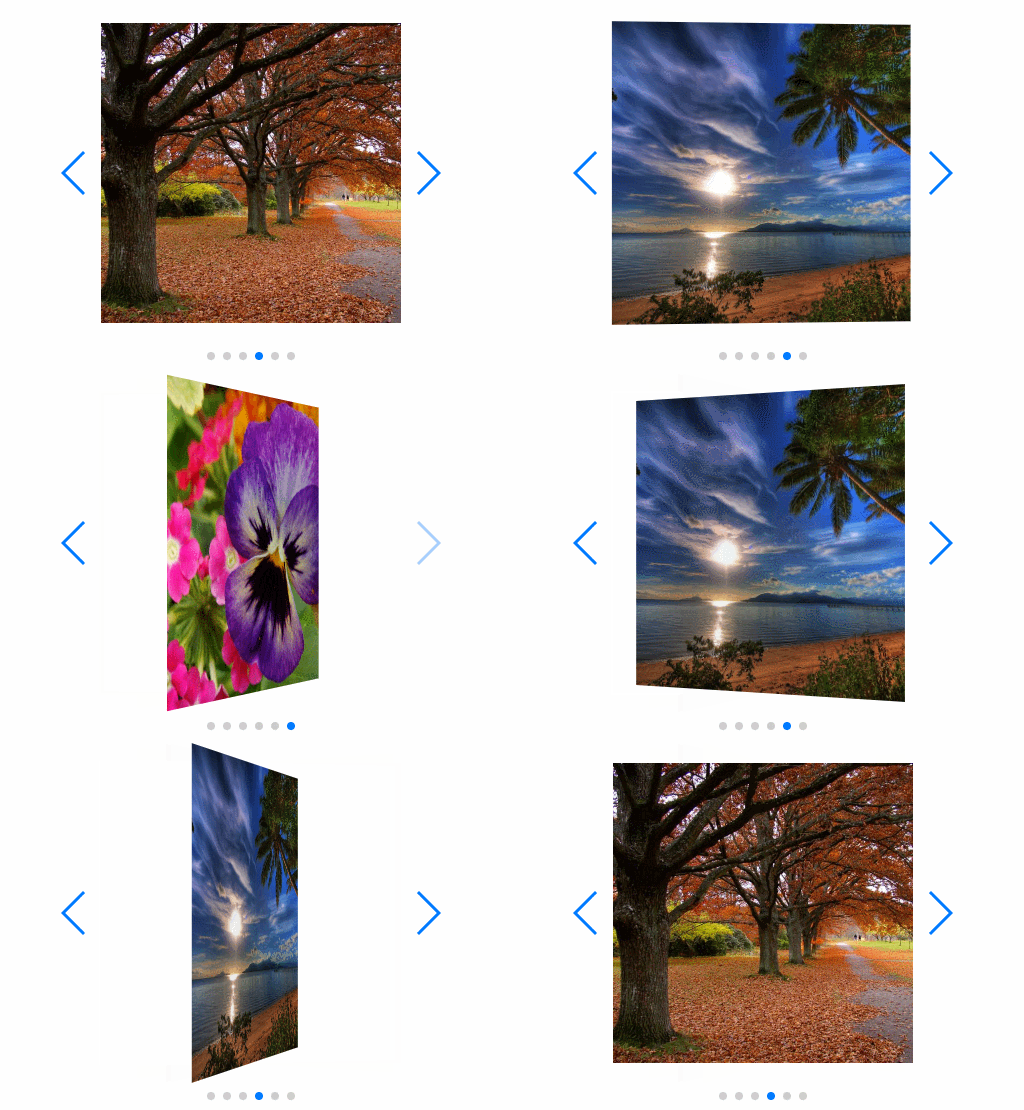
Swiper The Most Modern Mobile Touch Slide是最具现代化的移动触屏滑块,你所知道的js幻灯片效果,js左右滚动效果,各种触屏切换效果等都是这个swiper js框架所实现的,只有你想不到,没有你做不到的,下面来看看swiper做出来的slide滑动效果。
swiper拇指画廊效果,如图。

swiper 3D翻转效果,如图。

还有很多很多功能效果,请登录swiper网站查看效果,看是否有你需求的那样。
swiper 中文网:http://www.swiper.com.cn/demo/index.html
swiper 英文网:http://idangero.us/swiper/demos/ 看不懂英文的,可以使用google浏览器翻译成中文
让我们开始Getting Started With Swiper做一个简单的helloworld默认功能吧!,如下这样的。

1:Download and install Swiper 下载并安装swiper框架。
1) We can download them from Swiper GitHub repository 我们可以登录到github里面下载所需要的swiper.min.js和swiper.min.css文件,然后引入到项目中
2)或者可以直接使用BootCDN从网络中直接加载swiper文件,如下。
<link rel="stylesheet" href="https://cdn.bootcss.com/Swiper/4.0.1/css/swiper.min.css">
<script src="https://cdn.bootcss.com/Swiper/4.0.1/js/swiper.min.js"></script>
2:Include Swiper Files To Website/App 在我们的网页或app中引入js与css样式这两个文件,如下这样引入。
<!DOCTYPE html>
<html>
<head>
    ...
    <link rel="stylesheet" href="path/to/swiper.min.css">
</head>
<body>
    ... swiper内容
    <script src="path/to/swiper.min.js"></script>
</body>
</html>
3:Add Swiper HTML Layout 添加基本的swiper内容在body标签之间。
<body>
    <div class="swiper-container">
        <!-- Additional required wrapper -->
        <div class="swiper-wrapper">
            <!-- Slides -->
            <div class="swiper-slide">Slide 1</div>
            <div class="swiper-slide">Slide 2</div>
            <div class="swiper-slide">Slide 3</div>
        </div>

        <!-- If we need pagination 如果需要分页则添加-->
        <div class="swiper-pagination"></div>

        <!-- If we need navigation buttons 如果需要上一页,下一页则添加 -->
        <div class="swiper-button-prev"></div>
        <div class="swiper-button-next"></div>

        <!-- If we need scrollbar 如果需要底部滑块则添加-->
        <div class="swiper-scrollbar"></div>
    </div>
</body>
4:Swiper CSS Stlyes/Size 设置swiper显示的样式大小,例如。
<!-- slider内容样式,这是自定义的-->
<style>
 html, body {
  position: relative;
  height: 100%;

 }
 body {
  background: #eee;
  font-family: Helvetica Neue, Helvetica, Arial, sans-serif;
  font-size: 14px;
  color:#000;
  margin: 0;
  padding: 0;
 }
 .swiper-container {
  width: 600px;
  height: 300px;
 }
 .swiper-slide {
  text-align: center;
  font-size: 18px;
  background: #fff;

  /* Center slide text vertically slide内部字体垂直居中 */
  display: -webkit-box;
  display: -ms-flexbox;
  display: -webkit-flex;
  display: flex;
  -webkit-box-pack: center;
  -ms-flex-pack: center;
  -webkit-justify-content: center;
  justify-content: center;
  -webkit-box-align: center;
  -ms-flex-align: center;
  -webkit-align-items: center;
  align-items: center;

 }
</style>
5:Initialize Swiper 在js中初始化swiper,我们把js脚本写在<body>标签最后面,也就是</body>闭合标签之前。
<body>
 ...... swiper内容
    <script>
        var mySwiper = new Swiper ('.swiper-container', {
            // 水平并不无限循环
            direction: 'horizontal',
            loop: false,

            // If we need pagination 需要分页则添加
            pagination: {
                el: '.swiper-pagination',
            },

            // Navigation arrows 下一页,上一页
            navigation: {
                nextEl: '.swiper-button-next',
                prevEl: '.swiper-button-prev',
            },

            // And if we need scrollbar 底部滑块
            scrollbar:{
                el: '.swiper-scrollbar',
            },
        })
    </script>
</body>
经过上面五个步骤一初始化,它会显示出如下图的样式,因为我们添加了pagination分页,上一页,下一页以及底部滑块,这是比较完整的一个功能。

注意:如果你只想显示内容,如本文第三张swiper图片那样,而不显示上一页,下一页,底部滑块,以及pagination分页,则只需要简单初始化初始化,把第5个步骤的<script>里面的部分换一下。
jquery中初始化方法。
$(document).ready(function () {
 //初始化
  var mySwiper = new Swiper ('.swiper-container', {
  // Optional parameters 水平显示,不无限循环,
  direction: 'horizontal',
  loop: false
 })

});
javascript中的初始化方法。
window.onload = function () {
 //初始化
 var mySwiper = new Swiper ('.swiper-container', {
  // Optional parameters
  direction: 'horizontal',
  loop: false
 })
};
完毕!